
Live backlit preview
The 3D preview shades the panel as if a light were behind it, so you see the picture before you print.
Turn a photo into a panel that reveals the picture when light shines through. Free backlit preview, 2 credits per STL.
Runs in your browser. Your image is never uploaded.
Prepare the file for your printer, or make a different kind of print from a picture.
Dark areas print thick and block light. Bright areas print thin and glow.
Faces, pets and landscapes with clear light work best. Crop close so the subject fills the frame.
Choose the panel size and thickness. The backlit preview updates as you drag the sliders.
Save the STL and print it standing up in white PLA at 100% infill.
A portrait photo and the panel this maker builds from it.
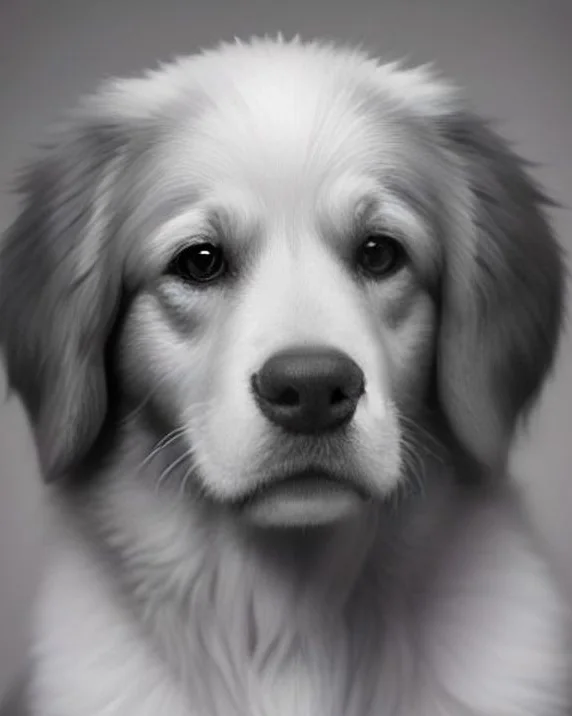
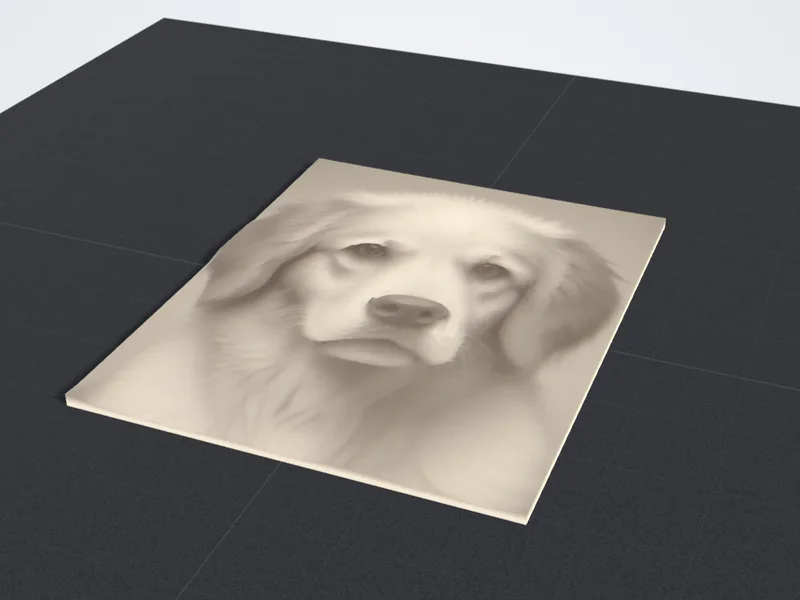
Made for flat lithophane panels that print cleanly.
The 3D preview shades the panel as if a light were behind it, so you see the picture before you print.
Set the longest side from 40 to 200 mm and read the exact panel size and filament weight.
Max and min thickness set the darkest shadow and the brightest highlight of the panel.
Flip the tones for a negative, and choose draft, standard or fine detail for the mesh.
Your photo is turned into a model inside your browser and is never uploaded.
Preview with no account. Each STL is 2 credits, and new accounts get 10 free.
Four choices decide whether the picture shines or stays gray.
About 0.8 mm keeps highlights bright and the panel sturdy. About 3 mm blocks nearly all light for deep shadows.
Solid white plastic passes light evenly. Colored filament tints and darkens the image.
Stand the panel on edge with a small brim and use fine layers such as 0.12 mm, so gradients come out smooth.
Hold it against a window or an LED panel. Even, diffuse light shows the most detail.
The maker prints flat panels. These four uses cover most of what people make, with a size to start from.
Stand the panel in front of a small LED strip or puck light. Warm white LEDs give the classic glow without heating the plastic.
100 mm, 0.8 to 3.2 mmDaylight from behind works like a lamp. Set it in a small stand on the sill or glue a hook to the top edge.
150 mm longest sideSize the panel to the frame opening and put a thin LED panel behind it. The photo appears when the light is on.
152 mm for a 4 × 6 in framePets, weddings and new babies are the favorite subjects. A small panel fits on a desk or shelf next to a battery LED.
80 mm longest sideThe details behind the settings above.
A lithophane is a thin sheet of varying thickness. Where it is thick it blocks light and reads as shadow; where it is thin, light passes through and it glows. In normal room light it looks like a plain white plaque, and the picture appears the moment you put a lamp behind it.
The maker maps every pixel of your photo to a thickness: dark pixels print thick, bright pixels print thin. The preview shades the panel the same way, so what you see on the build plate is close to what you will see with a light behind the print.
Minimum thickness sets your brightest highlight. Around 0.8 mm lets plenty of light through while keeping the panel sturdy; below 0.6 mm highlights become fragile and see-through even unlit. Maximum thickness sets your deepest shadow, and about 3 mm blocks nearly all light from a typical LED.
Print in white PLA at 100% infill so light travels through solid plastic rather than an infill pattern. Stand the panel upright with a small brim, use a fine layer height such as 0.12 mm, and slow down the outer walls for a cleaner surface.
Faces, pets and backlit landscapes work best. Pick a photo with clear lighting and a subject that fills most of the frame, and crop out busy backgrounds before you upload. Strong, even contrast matters more than resolution.
Very dark photos turn into thick, heavy panels that need a bright lamp. If the result looks flat, brighten the photo or widen the thickness range. Leave Invert tones off for backlit panels; switching it on prints a negative.
Answers about thickness, filament, orientation, size and price.