
No plate behind the shape
Everything lighter than the cut-off is removed, so only the subject is left.
Cut the subject out of any image at one even thickness. Background gone, holes kept, edges smooth.
Runs in your browser. Your image is never uploaded.
Make a raised version instead, add lettering, or check the STL before slicing.
Drop, paste or choose a PNG, JPG or WebP. A dark shape on a light background works best.
The cut-off decides which pixels become solid. The outline updates as you drag.
Save the file and open it in your slicer at the size shown under the preview.
A black cat silhouette with a stake drawn in, and the cut-out this converter builds from it.
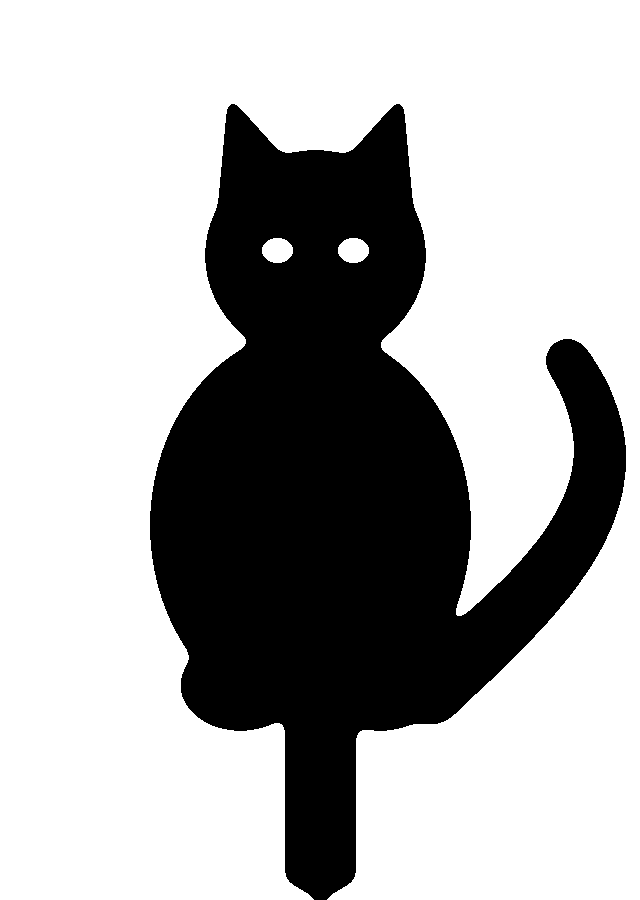
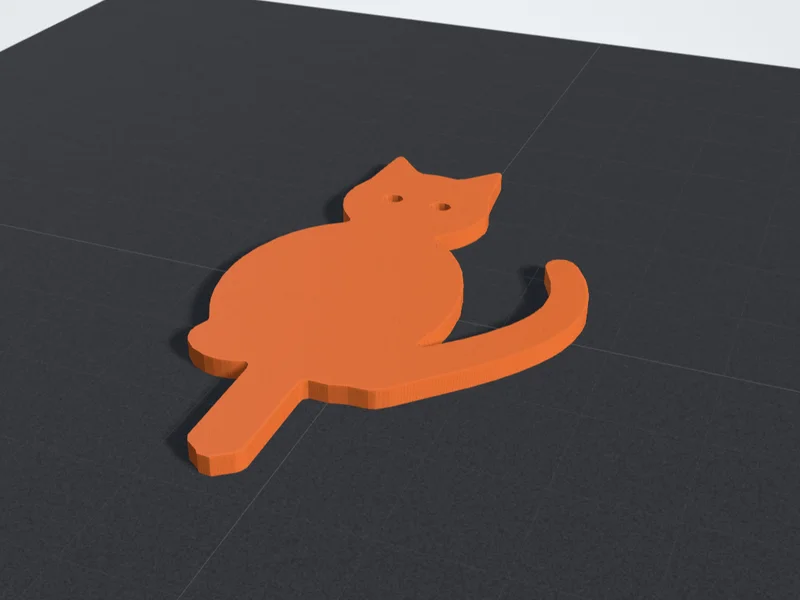
Built for flat pieces that are defined by their outline.
Everything lighter than the cut-off is removed, so only the subject is left.
Edges are traced as curves after a light blur, so pixels and JPEG noise do not show as steps.
Drag it from 0.10 to 0.90 to keep soft shadows or drop faint marks.
Turn on Keep light areas instead for a white shape on a dark background.
Set the longest side from 20 to 200 mm and the thickness from 0.8 to 10 mm.
Runs in your browser with no upload. The preview is free; each STL is 2 credits.
Flat pieces are simple to print. These four habits keep thin parts intact.
A cut-out has one even thickness, so it lies flat on the bed and needs no supports.
Standard layers suit a flat shape. Extra walls make stakes, tails and thin edges stronger.
A small brim keeps thin stakes and tips from lifting off the bed during the first layers.
Details narrower than about two nozzle widths print poorly. Scale the piece up or thicken them in the artwork.
How a silhouette differs from a relief, tuning the cut-off, and planning holes and thickness.
Relief keeps a solid plate and raises the design on top of it. Silhouette has no plate at all: everything darker than the cut-off becomes solid at one thickness, and everything else is removed, including enclosed holes.
That makes it the right mode for objects defined by their outline: cake toppers, stencils, wall art, ornaments and name tags. The edges are traced as smooth curves rather than stair-stepped pixels.
The cut-off decides which pixels count as solid. At 0.50, anything darker than mid gray is kept. Raise it to include lighter areas such as soft shadows; lower it to drop faint marks and keep only the darkest parts.
For a light subject on a dark background, turn on Keep light areas instead. Photos rarely have a clean edge, so for the best outline paint the subject black on white first, or start from an image that is already a silhouette.
Holes inside the shape stay open, which is how eyes, key-ring loops and letters cut through a tag. Watch for islands: the middle of an O or an A becomes a loose piece that falls out. Stencil fonts and connected designs avoid this.
For cake toppers and ornaments, 3 mm is stiff enough in PLA. Stencils can go down to about 1.5 mm. Draw a pick or stake into the artwork itself if the piece needs to stand in a cake or a plant pot.
Answers about uses, missing parts, loose letter centers, topper thickness and photos.