
Exact size in mm or inches
Set the longest side and read the finished width, depth and height before you print.
Turn a logo into a raised keychain, badge or sign. Set the size in millimeters and download a print-ready STL.
Runs in your browser. Your image is never uploaded.
Add lettering, pack the file for your printer, or check the STL before slicing.
Drop, paste or choose a PNG, JPG or WebP of the logo, up to 10 MB.
Drag Size to the finished width, then set how far the logo rises above the base.
Save the STL and print it flat on the bed. A relief needs no supports.
A black and white PNG and the raised plate this converter builds from it.
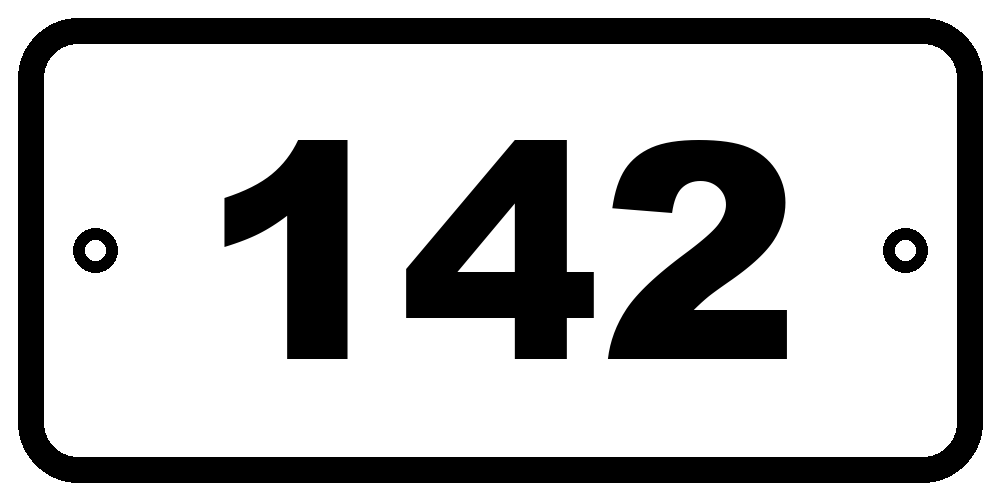
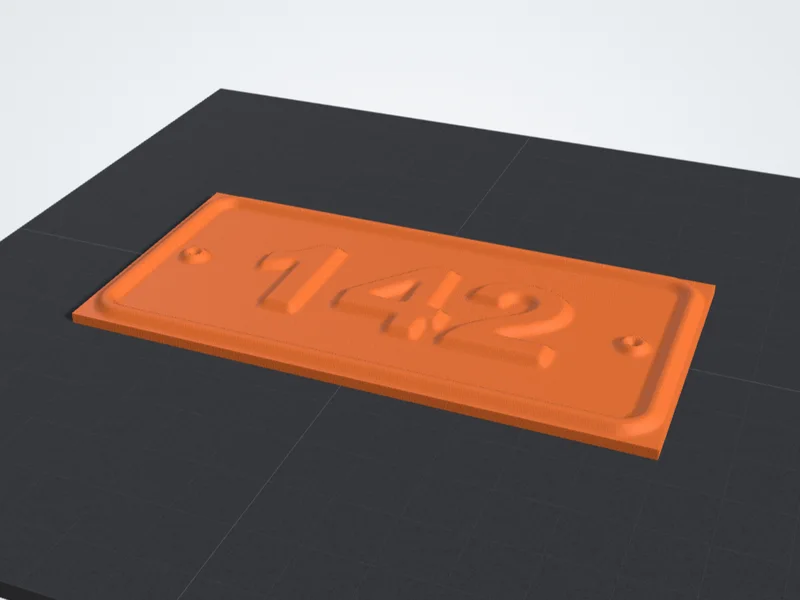
Made for raised logos, badges and lettering at real sizes.
Set the longest side and read the finished width, depth and height before you print.
Raise the logo 0.6 to 16 mm above a base of 0.6 to 6 mm.
Silhouette mode drops the background and cuts the logo out at one thickness, with holes kept open.
Fine detail follows thin strokes and small text most closely. Draft is quicker for a size check.
See the volume and approximate grams of PLA update as you resize.
The logo is converted inside your browser and is never uploaded.
Starting points for a 0.4 mm nozzle. Set them with the Size, Relief height and Base thickness sliders.
A small tag for keys or a bag. Keep letters at least 4 mm tall so they stay readable.
40 mm, 1.2 mm relief, 2 mm baseA round or square plate for a desk, a bag strap or under a mug.
60 to 90 mm, 1.5 mm relief, 2 mm baseA name or number plate that sits on a shelf or a desk.
160 mm, 2.5 mm relief, 3 mm baseA larger plate for a door or a wall. The thicker base keeps it stiff.
200 mm, 3 mm relief, 4 mm baseWhich source file to use, sizes that work and what a printer cannot draw.
The best source is the simplest one: a flat, single-color version of the logo on a plain background. Gradients, drop shadows and textures all turn into bumps, so export the flat mark from your brand files or redraw it in black on white.
Vector logos give the cleanest result once exported to PNG at about 1000 pixels wide. A screenshot from a website is fine for a first test, but a small logo scaled up will show soft, rounded edges.
Keep the raised part between 1 and 3 mm. Taller reliefs cast stronger shadows but take longer to print and are more likely to snag the nozzle on thin details. These starting points print well on a 0.4 mm nozzle.
Keychain
Badge or coaster
Desk sign
Wall plaque
Lines thinner than your nozzle disappear. A 0.4 mm nozzle draws a line about 0.4 mm wide, so details under 0.8 mm print poorly, and small text needs letters at least 4 mm tall to stay readable.
If fine parts vanish, make the model bigger or thicken the artwork before converting. For a two-color logo, print the base in one color and add a filament change at the first layer of the raised design.
Answers about keychains, two colors, light logos, vector files and price.