
Lamp panel preview
Lithophane mode shades the panel as if a lamp were behind it, so you can judge the glow first.
Turn a picture into a backlit lamp panel, a raised plaque or a cut-out. Preview it free, then download the STL for 2 credits.
Runs in your browser. Your image is never uploaded.
Pack the file for your slicer, check it, or see what AI 3D will add.
Drop, paste or choose a JPG, PNG or WebP up to 10 MB.
Lithophane, relief or cut-out. The 3D preview updates as you change size and thickness.
Save the STL in millimeters for 2 credits, open it in your slicer and print.
A dog portrait and the lithophane built from it on this page, shaded as if lit from behind.
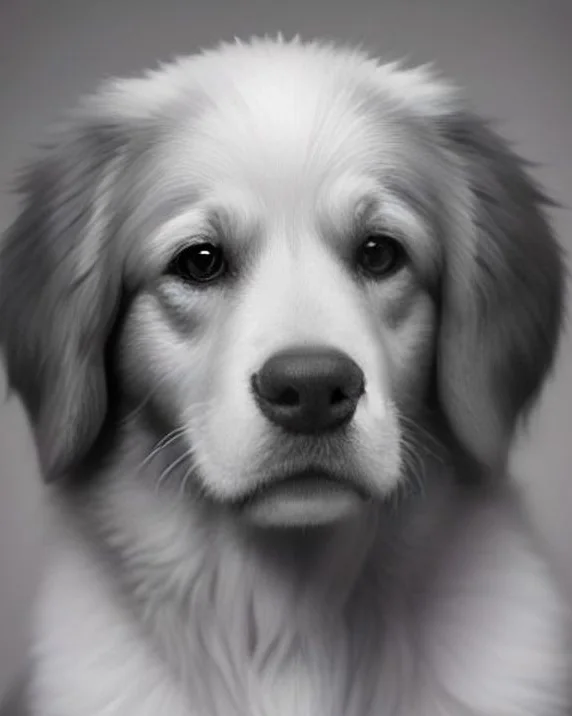
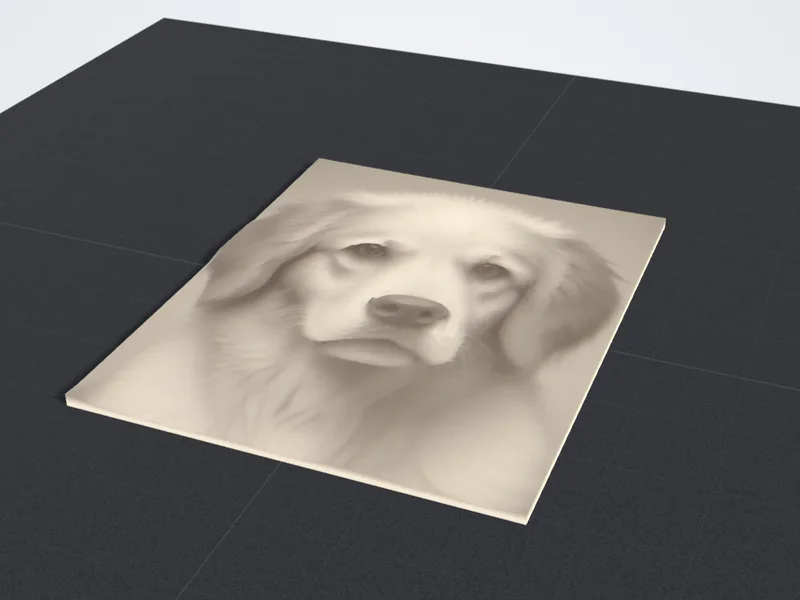
Three kinds of print from one photo, with AI 3D on the way.
Lithophane mode shades the panel as if a lamp were behind it, so you can judge the glow first.
Switch between lithophane, relief and cut-out without uploading the photo again.
Set the longest side in mm or inches and read the size, volume and grams of PLA.
Flip which tones rise or thicken, and choose draft, standard or fine detail.
AI 3D will rebuild the sides and back of a subject as a figurine. It is not live yet.
Lithophane, relief and cut-out run in your browser with no upload. Previews need no account.
The short version of the printing advice in the guide below.
Stand the panel on edge with a brim and print at about 0.12 mm layers and 100% infill.
Lay them on the bed with 0.2 mm layers, three walls and 15 to 20% infill.
Add a filament change at the first layer of the raised design so it stands out from the base.
A small test uses little filament and shows contrast or detail problems early.
A starting point for common photos. Sizes are the longest side.
Faces depend on soft shading, and a lithophane is the flat print that keeps it.
Lithophane, 100 mmFur and eyes come through well in a lamp panel. A clear outline also makes a good cut-out.
Lithophane, 100 mmWide scenes suit a panel in a window. A bold skyline also works as a relief.
Lithophane, 120 mmA plain background gives a clean edge, so the object cuts out at one even thickness.
Silhouette, 80 mmThe four ways a photo becomes an object, which suits yours and how to print it.
A photo is flat, so every route from picture to 3D print has to build the third dimension out of something the photo already has. A lithophane uses brightness as thickness: dark areas print thick, light areas print thin, and the picture appears when a lamp shines through it. A relief uses brightness as height, raising the design off a solid plate so it reads in ordinary room light, like a coin or a carved sign.
A silhouette ignores the shading and keeps only the outline, cutting the subject out at one even thickness for a cake topper, an ornament or a wall piece. AI 3D goes furthest: it predicts the sides and back the camera never saw and builds a figurine you can hold. The first three run in your browser with a free preview and cost 2 credits per STL download. AI 3D is opening soon at 25 to 35 credits per model.
Photographs are made of soft gradients, and a lithophane is the only flat print that keeps them, so it wins for most faces and pets. A relief rewards bold shapes and clean edges, a silhouette needs a subject that stands out clearly from its background, and AI 3D needs one whole object seen from the front. Sizes are the longest side, and a lithophane keeps the same thickness range when you scale it up. Use this as a starting point:
Portrait of a person
Pet
Landscape or skyline
Logo, text or drawing
Object on a plain wall
Crop so the subject fills the frame, and clear or blur a busy background before you upload. Brighten very dark shadows and add a little contrast: in a lithophane, deep shadows become thick plastic that a small lamp cannot light, and in a relief, background clutter turns into bumps. For a silhouette, a photo taken against a plain wall or open sky gives the cleanest outline. Leave a little margin around it so ears, tails and fingers are not clipped by the crop.
Lithophanes print in white PLA at 100% infill, standing upright with a brim, at a fine layer height such as 0.12 mm. Reliefs and cut-outs print flat on the bed: 0.2 mm layers, three walls and 15 to 20% infill are plenty. For a two-color plaque, add a filament change at the first layer of the raised design so the picture stands out from the base. Before a large print, run a 50 mm test: it uses little filament and shows contrast or detail problems early.
Answers about printing pictures, portraits, printers, resolution and price.