
Relief or cut-out
Raise the design on a solid plate, or cut the shape out with no plate at all, from the same file.
Turn a PNG logo, icon or drawing into a printable STL. Transparent areas stay flat, so the design stands out cleanly.
Runs in your browser. Your image is never uploaded.
Check the STL, pack it for your slicer, or turn a pixel sprite into blocks.
Drop, paste or choose a PNG up to 10 MB. JPG and WebP files work too.
Choose Relief or Silhouette, then drag Size and height. The 3D preview follows every change.
Save a binary STL in millimeters and open it in any slicer.
A black and white PNG and the cut-out that Silhouette mode builds from it.

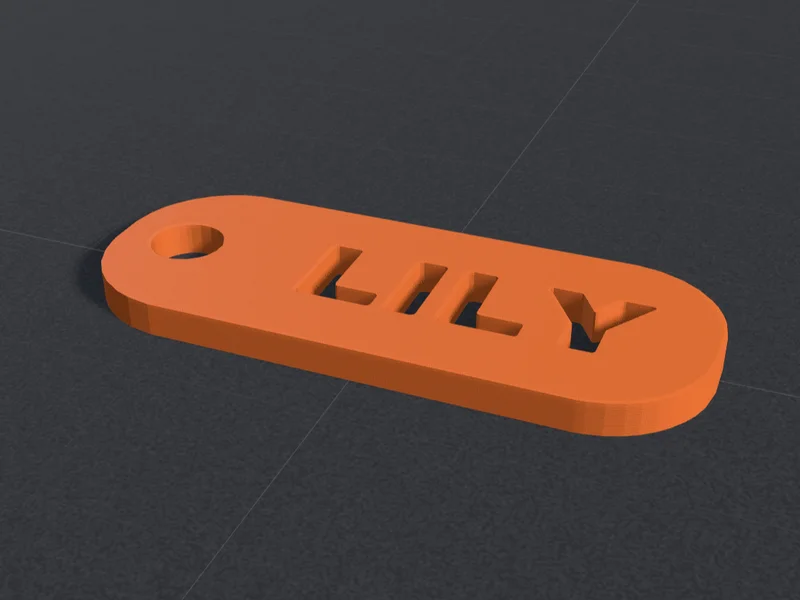
Made for logos, icons and line art saved as PNG.
Raise the design on a solid plate, or cut the shape out with no plate at all, from the same file.
Set the longest side and read the exact width, depth and height, in mm or inches.
Raise the design 0.6 to 16 mm above a base of 0.6 to 6 mm, from keychains to wall signs.
Draft for a quick size check, Standard for most prints, Fine for thin strokes and small text.
Every model is a closed solid saved as binary STL, so slicers open it without repair.
Your PNG never leaves your browser. Preview with no account; each STL download is 2 credits.
Starting points that suit most logos, icons and badges.
Raised parts in this range read clearly and print quickly. Go taller only on large signs.
A 2 mm plate keeps small pieces stiff. Use 3 mm or more once the longest side passes 150 mm.
Fine follows thin lines most closely. Keep letters at least 4 mm tall so a 0.4 mm nozzle can draw them.
Reliefs and cut-outs lie flat on the bed. 0.2 mm layers and 15 to 20% infill are plenty.
Why PNG converts cleanly, which mode to choose and how to prepare the file.
PNG is lossless, so edges stay sharp instead of picking up the blocky noise that JPG compression adds. That noise turns into bumps on a relief, while a clean PNG gives smooth, flat surfaces between crisp edges.
PNG can also store transparency. The converter treats transparent pixels as background and keeps them at base height, so only your artwork rises. A JPG has no transparency, which is why its background often prints as a solid block.
Relief raises dark areas off a solid base, which suits logos, badges and signs. Silhouette drops the background completely and cuts the shape out at one thickness, which suits cake toppers, stencils and outlines.
Lithophane works with PNG photos too, though most photos are saved as JPG. For logos and line art, start with Relief and try Silhouette when you want the shape without a plate behind it.
Aim for at least 800 pixels on the longest side, flat colors and strong contrast between the design and the background. Remove drop shadows and soft glows, because every gradient becomes a slope in the print.
If your logo is dark on a light background, the default settings raise the logo. If it is light on dark, turn on Raise light areas instead. For a two-color print, pause at the layer where the design begins and swap filament.
Answers about transparency, image size, white backgrounds, privacy and SVG files.